
Photo by Manuel Enrique Sankitts 🌹
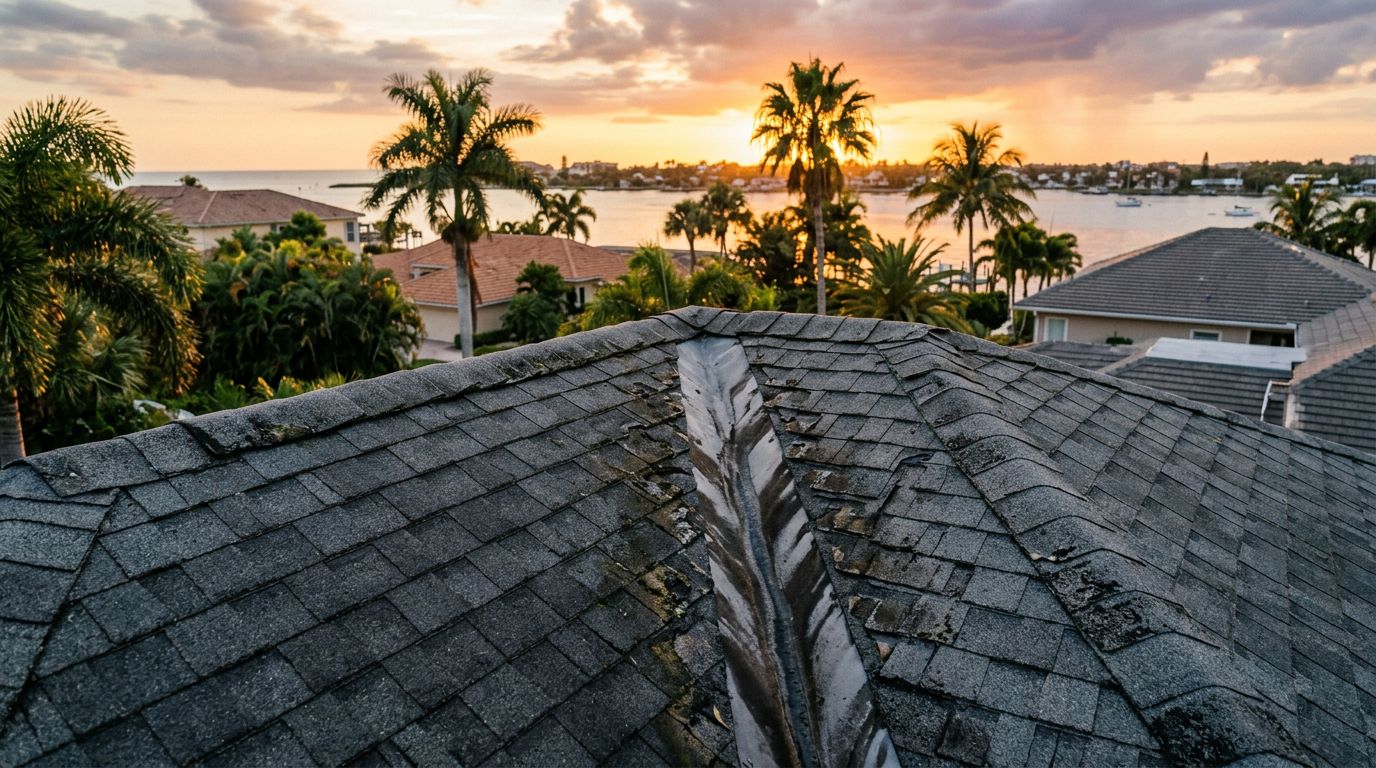
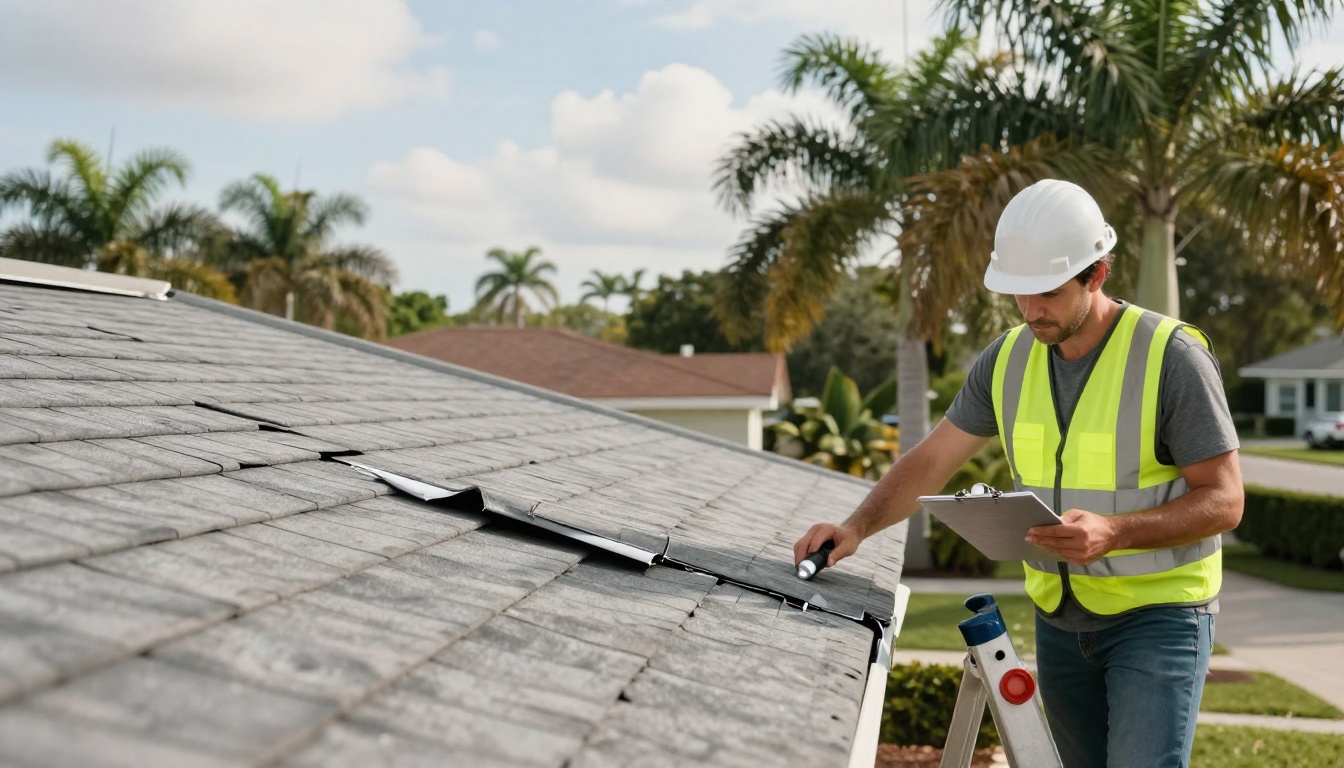
One small leak in a roof valley can turn into a big mess fast, especially in Cape Coral. Valleys carry a lot of rainwater, so when they fail, water often finds the easiest path into your home. Heavy downpours, hurricane winds, and year-round humidity put extra pressure on this...
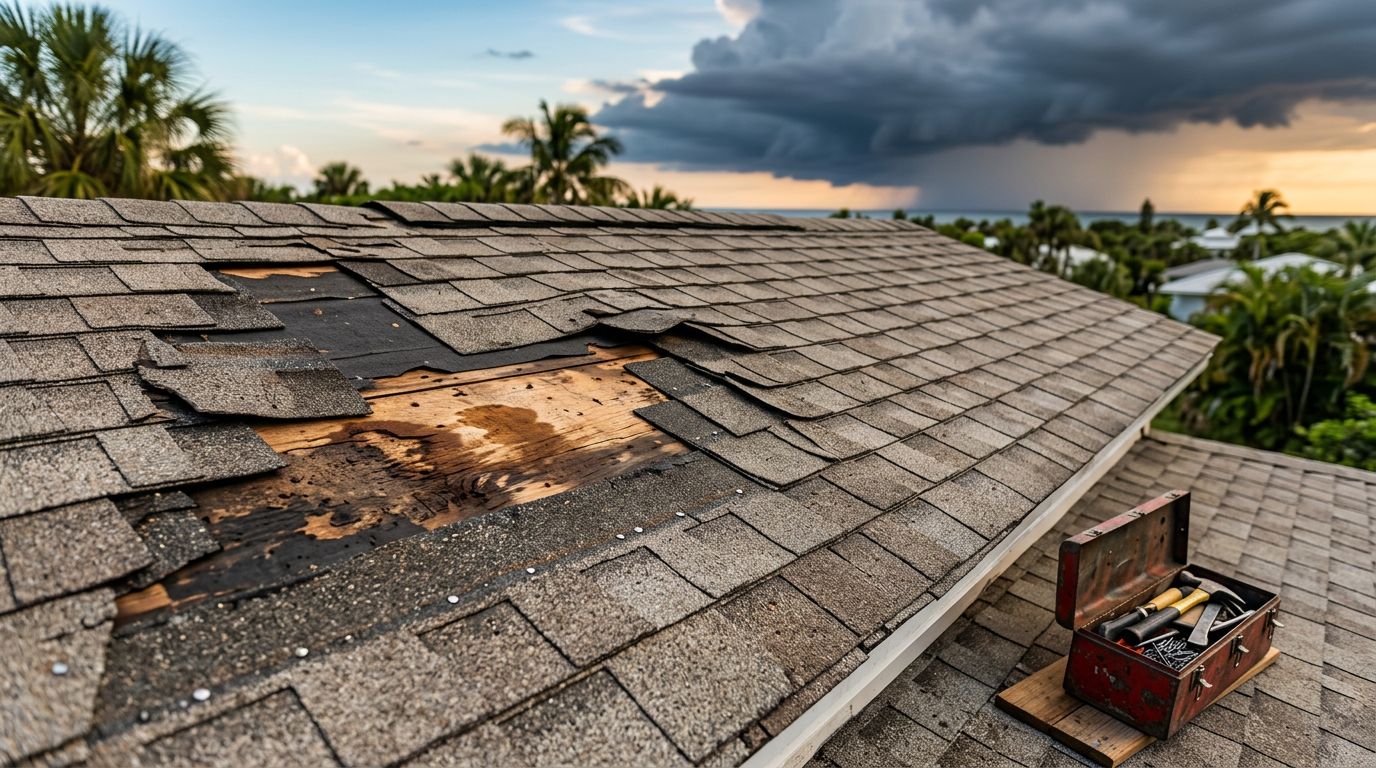
A Florida roof claim can look simple until the estimate, deductible, and policy language land on the same table. A repair that feels expensive may still be cheaper than filing a claim, while a bigger storm loss can be a poor time to guess. In Florida, the right choice depends...
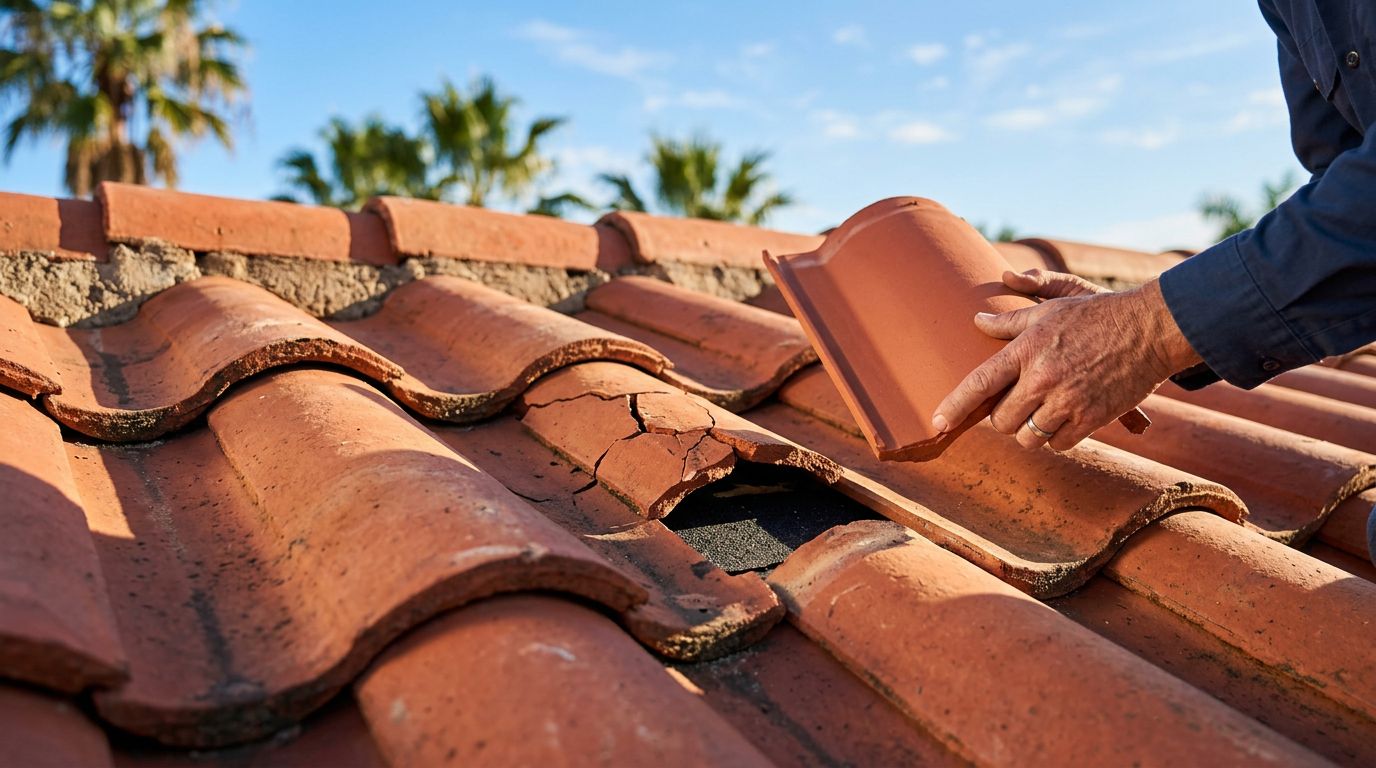
A cracked tile on a Florida roof can look small from the ground, but it can open the door to leaks fast. Wind-driven rain, heat, and salt air put extra stress on tile roofs, so even one damaged piece deserves a close look. Yes, broken roof tiles in Florida can often be replace...
A hot roof can make a home feel hotter, so it's fair to wonder if metal is part of the problem. In Florida, that concern comes up a lot, but the answer is clearer than most people think. Metal roofs do not inherently make homes hotter , and in many cases they help reduce heat...