Florida Roof “Dry-In” Explained, What It Is, When You Need It, and What It Should Include
If you’ve ever seen a roof torn off right before a rainy afternoon, you know the stress. Your home is suddenly “open,” and water doesn’t wait for anyone. That’s where a roof dry-in Florida homeowners hear about comes in.
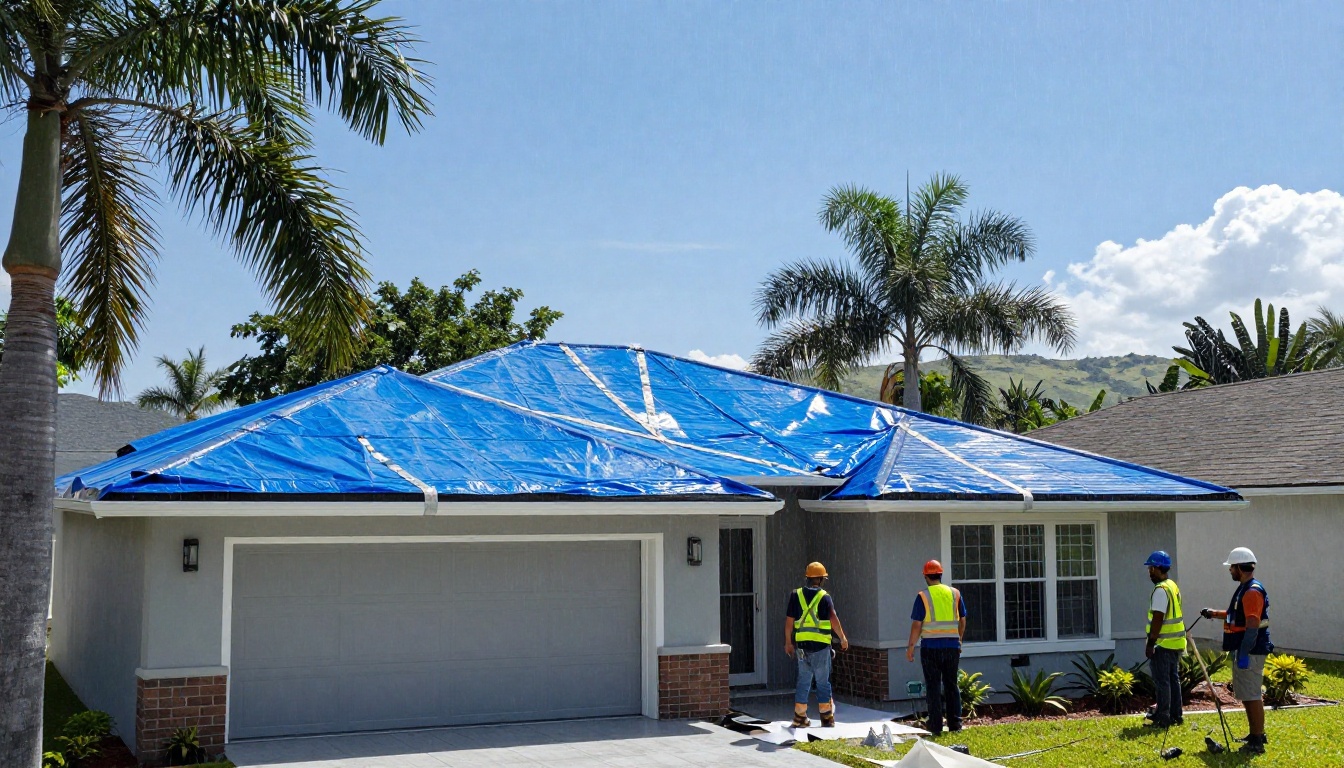
A dry-in is the temporary, weather-resistant roof setup that protects the roof deck and interior until the final roof covering (shingles, tile, or metal) is installed. Done right, it buys you time, helps pass inspections, and can keep a small roofing project from turning into a full interior restoration.
What “roof dry-in” means in Florida (and why it’s more than just felt paper)
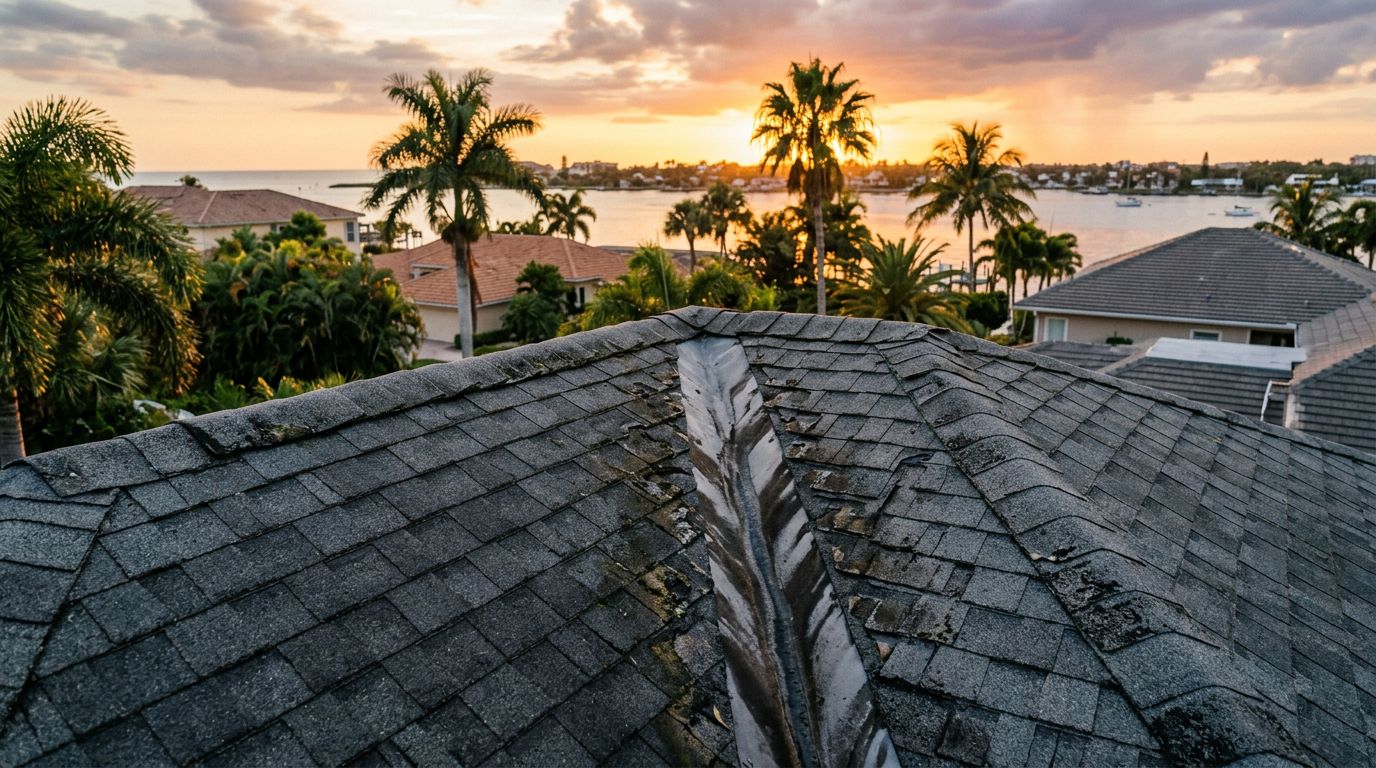
A roof dry-in is the point where the roof deck is covered and detailed well enough to shed water during normal rain and windy weather while the final roof system is pending. Think of it like taping up a broken window before the glass arrives. It’s not the finished solution, but it prevents the real damage.
In Florida, dry-in standards matter because wind-driven rain finds weak spots fast. The Florida Building Code (FBC) sets requirements around underlayments, flashing, edge details, and (in many cases) secondary water resistance methods. The exact expectations can change by roof type, slope, and location, and your local Authority Having Jurisdiction (AHJ) (city or county building department) can add rules on top.
If you want to see how the code organizes underlayment requirements and referenced ASTM standards, a helpful starting point is FBC underlayment code sections. It’s not a substitute for your permit set or inspector direction, but it gives useful context.
Dry-in also isn’t “set it and forget it.” Underlayments and membranes have manufacturer exposure limits (days or months) and fastening rules. If a dry-in sits too long in sun and storms, it can wrinkle, tear, or lose adhesion, which creates leaks under the final roof.
For Southwest Florida property owners planning work, it also helps to choose a contractor who can explain dry-in clearly, pull permits, and schedule inspections. Start with a Cape Coral roofer selection guide before signing anything.
When you need a dry-in (and the situations that make it urgent)
You need a dry-in anytime the existing roof covering is removed far enough that the deck is exposed, or the roof can’t reliably shed water during the work. That includes most full replacements, many tile resets, and storm repairs where large areas are opened up.
Common dry-in triggers in Florida:
- Full roof replacement : Tear-off exposes the deck, so dry-in is the first protection layer before the finished system.
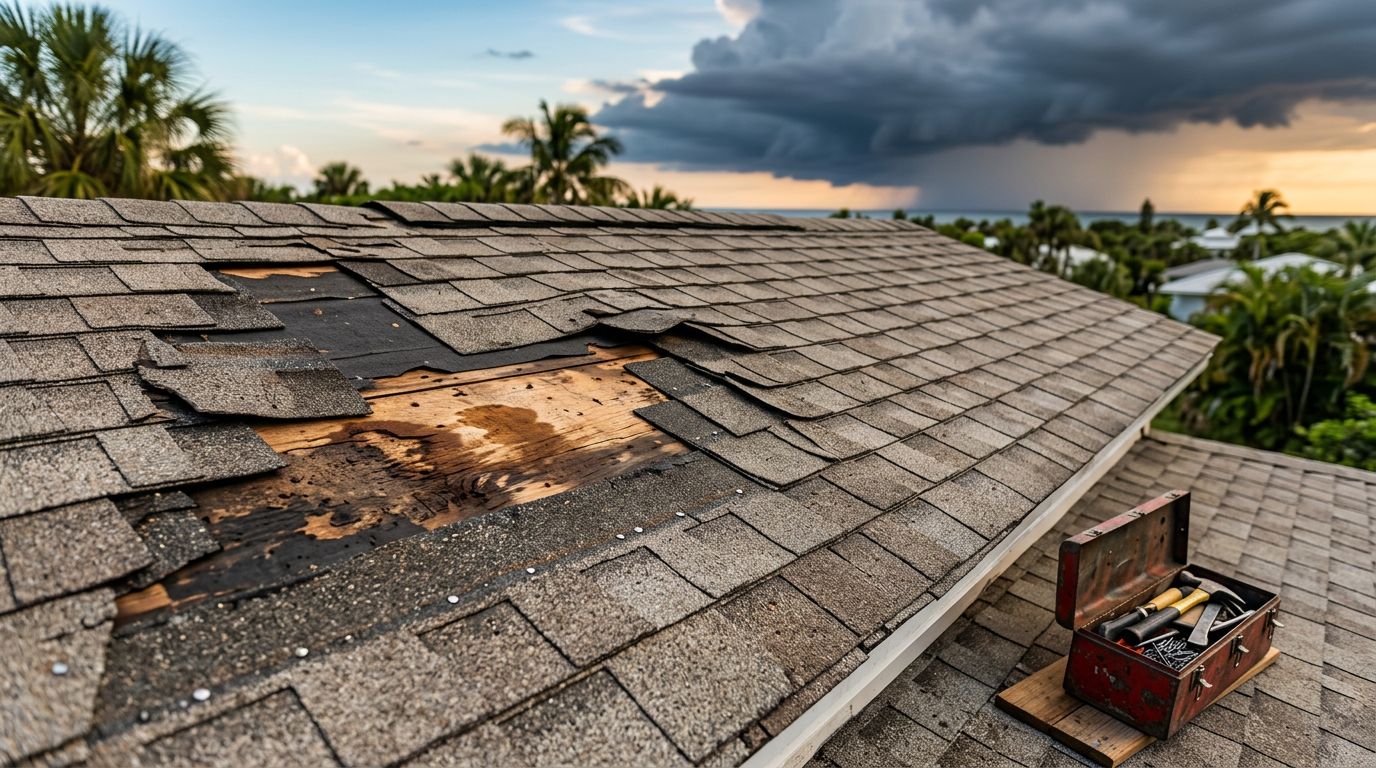
- Deck repairs : If rotten plywood or planks must be replaced, sections can’t be left open.
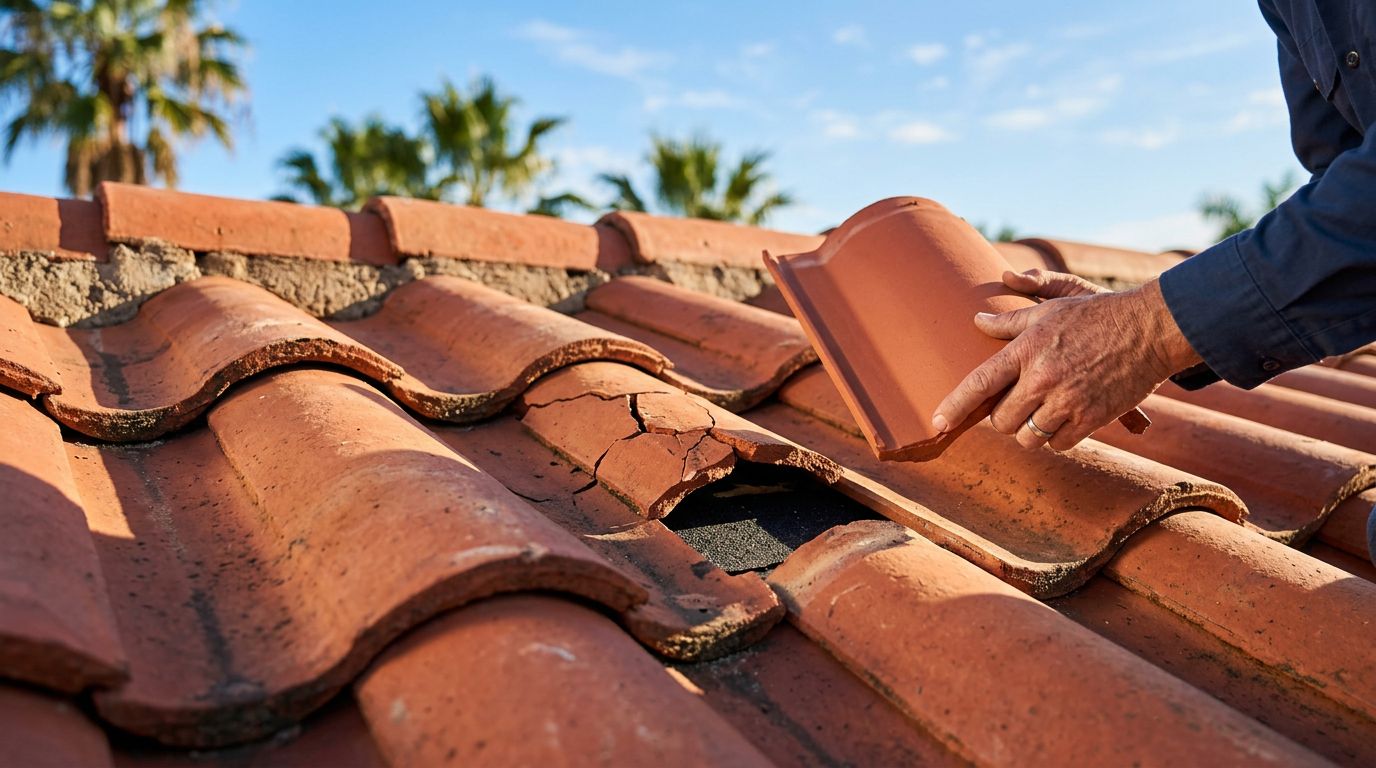
- Storm damage : Missing shingles, peeled membranes, or displaced tiles can require emergency dry-in or temporary drying measures.
- Multi-day installs : Even well-run jobs can stretch due to weather, material delivery, or inspection timing.
Permitting often drives the schedule, too. Many jurisdictions require inspections at specific stages, and it’s normal for a roof to be dried-in and waiting for sign-off before the final covering goes on. If you’re local, this Cape Coral roof replacement permit guide explains why permits and inspections are tied so closely to how a roof gets built (and dried-in).
Another Florida wrinkle is the “25 percent rule” concept people run into: if a large portion of the roof is repaired or replaced within a set period, the work may need to bring the roof up to current code. That’s one reason contractors are cautious about piecemeal repairs on older systems. Your AHJ is the final word, so confirm the rule application with the permitting office or inspector for your address.
If you’re managing a rental or condo building, dry-in planning matters even more. One leak can affect multiple units, trigger mold prevention work, and complicate tenant communications.
What a proper Florida roof dry-in should include (materials, details, and proof)
A dry-in is only as strong as its weakest edge, seam, or penetration. The goal is to create a continuous water-shedding layer, then reinforce the spots where water concentrates or wind tries to lift materials.
Typical dry-in materials: synthetic underlayment vs self-adhered membrane
Most Florida dry-ins use one of these approaches, sometimes combined:
- Synthetic underlayment : Lightweight rolls fastened with cap nails or approved fasteners. It resists tearing better than old-style felt, but seams and fasteners still need to be handled correctly.
- Self-adhered (peel-and-stick) membrane : A bonded membrane that seals to the deck and can self-seal around nail penetrations. It’s common in valleys, along eaves, and as part of secondary water resistance strategies.
Your permit documents, roof system approval, and inspector expectations control what’s acceptable. Manufacturer documents can be useful for understanding how products are evaluated under Florida code frameworks, like this Florida building code underlayment overview (non-HVHZ). Always match the exact approved assembly for your job.
Attachment patterns, overlaps, and seam sealing expectations
Even good material fails if it’s installed loose.
Fastening patterns often tighten at edges and laps, and relax in field areas, because roof edges see the highest wind forces. Many systems call for cap nails (or cap fasteners) rather than staples. Overlaps are usually generous, and end laps are treated carefully so water can’t run sideways into a seam.
Seam sealing varies by system. Some dry-ins rely on taped seams, some rely on self-adhered laps, and some require spot cementing at terminations. The right answer is the one your approved system and AHJ accept.
Minimum details that stop water at the usual leak points
A dry-in should address these areas before the crew leaves for the day:
- Eaves : Drip edge and a clean, tight underlayment termination so water can’t back up under the first course.
- Rakes (gable edges) : Secure edge metal and underlayment that won’t flutter in wind.
- Valleys : Continuous membrane or approved valley underlayment treatment, because valleys handle concentrated flow.
- Chimneys and walls : Base flashing and counterflashing strategy, with membrane integration so water can’t run behind metal.
- Skylights : Correct membrane laps and flashing sequence (bottom first, then sides, then top) so it sheds water like shingles do.
- Vents and pipe boots : Boots seated flat, properly sized, sealed where required, and integrated with the underlayment so water can’t follow the pipe.
Dry-In Checklist (quick field guide for homeowners)
Use this as a practical “ask and verify” list:
- Underlayment is continuous : No exposed deck, no torn sections, no loose bubbles.
- Correct fasteners used : Cap nails or approved fasteners, not random staples.
- Laps face downhill : Overlaps are consistent and pressed tight, with end laps staggered when possible.
- Seams treated as required : Taped, adhered, or cemented per the approved system.
- Drip edge installed : Edges are mechanically fastened and not floating.
- Valleys protected : Valley membrane is centered and fully bonded where required.
- Penetrations sealed : Pipe boots and vents are set, flashed, and sealed to shed water.
- Wall and chimney areas addressed : No “we’ll do that later” gaps where water can run behind.
- Jobsite is watertight overnight : Loose materials removed, temporary caps in place.
- Photos taken before covering : Clear shots of seams, edges, valleys, and penetrations.
Typical dry-in timeline (same-day vs multi-day)
| Scenario | What usually happens | What you should expect |
|---|---|---|
| Same-day dry-in | Tear-off, deck repairs, underlayment, key flashings | Home is dried-in before crews leave |
| Multi-day dry-in | Dry-in completed, then waiting on weather, materials, or inspection | Dry-in must be secure enough to handle wind-driven rain |
Documentation to request (and how it helps insurance and mitigation)
Ask for a photo set before the final roof covering goes on. It should include wide shots and close-ups of valleys, eaves, rakes, pipe penetrations, skylights, and any deck replacement areas. Keep copies of permits, product approvals, and the inspection record.
This matters for insurance in two ways. First, a solid dry-in reduces the odds of interior damage, which can keep a roofing claim from turning into flooring, drywall, and mold prevention work. Second, if a storm hits mid-project, good documentation helps show what was in place and when. That’s also where a clear written agreement helps. This Florida roofing contract essentials guide is a good reference for what to have in writing.
For building code context on edge metal and related sections that often come up during inspections, see FBC related roof code sections. Requirements can vary by AHJ, so confirm project specifics with your permitting office or inspector.
Conclusion
A roof dry-in isn’t just a step in the process, it’s your home’s short-term shield while the real roof is being built. The best dry-ins are tight at seams, locked down at edges, and carefully detailed around every penetration. If your contractor can explain the dry-in plan, show photos, and pass inspections cleanly, you’re in a much safer spot when the next Florida rain band shows up. Dry-in quality is one of those things you only notice when it’s done wrong, so it’s worth getting it right from day one.